
Preparing raw sea moss for gel is simple, but the details matter. When you clean it well, soak it long enough, and store it safely, you get a smooth, fresh gel that’s easy to use in smoothies, soups, teas, and more.
This guide walks you through the full process (clean, soak, blend, store) and explains why each step matters, especially soaking, which rehydrates the moss and helps rinse away excess salt from ocean-harvested, sun-dried sea moss.
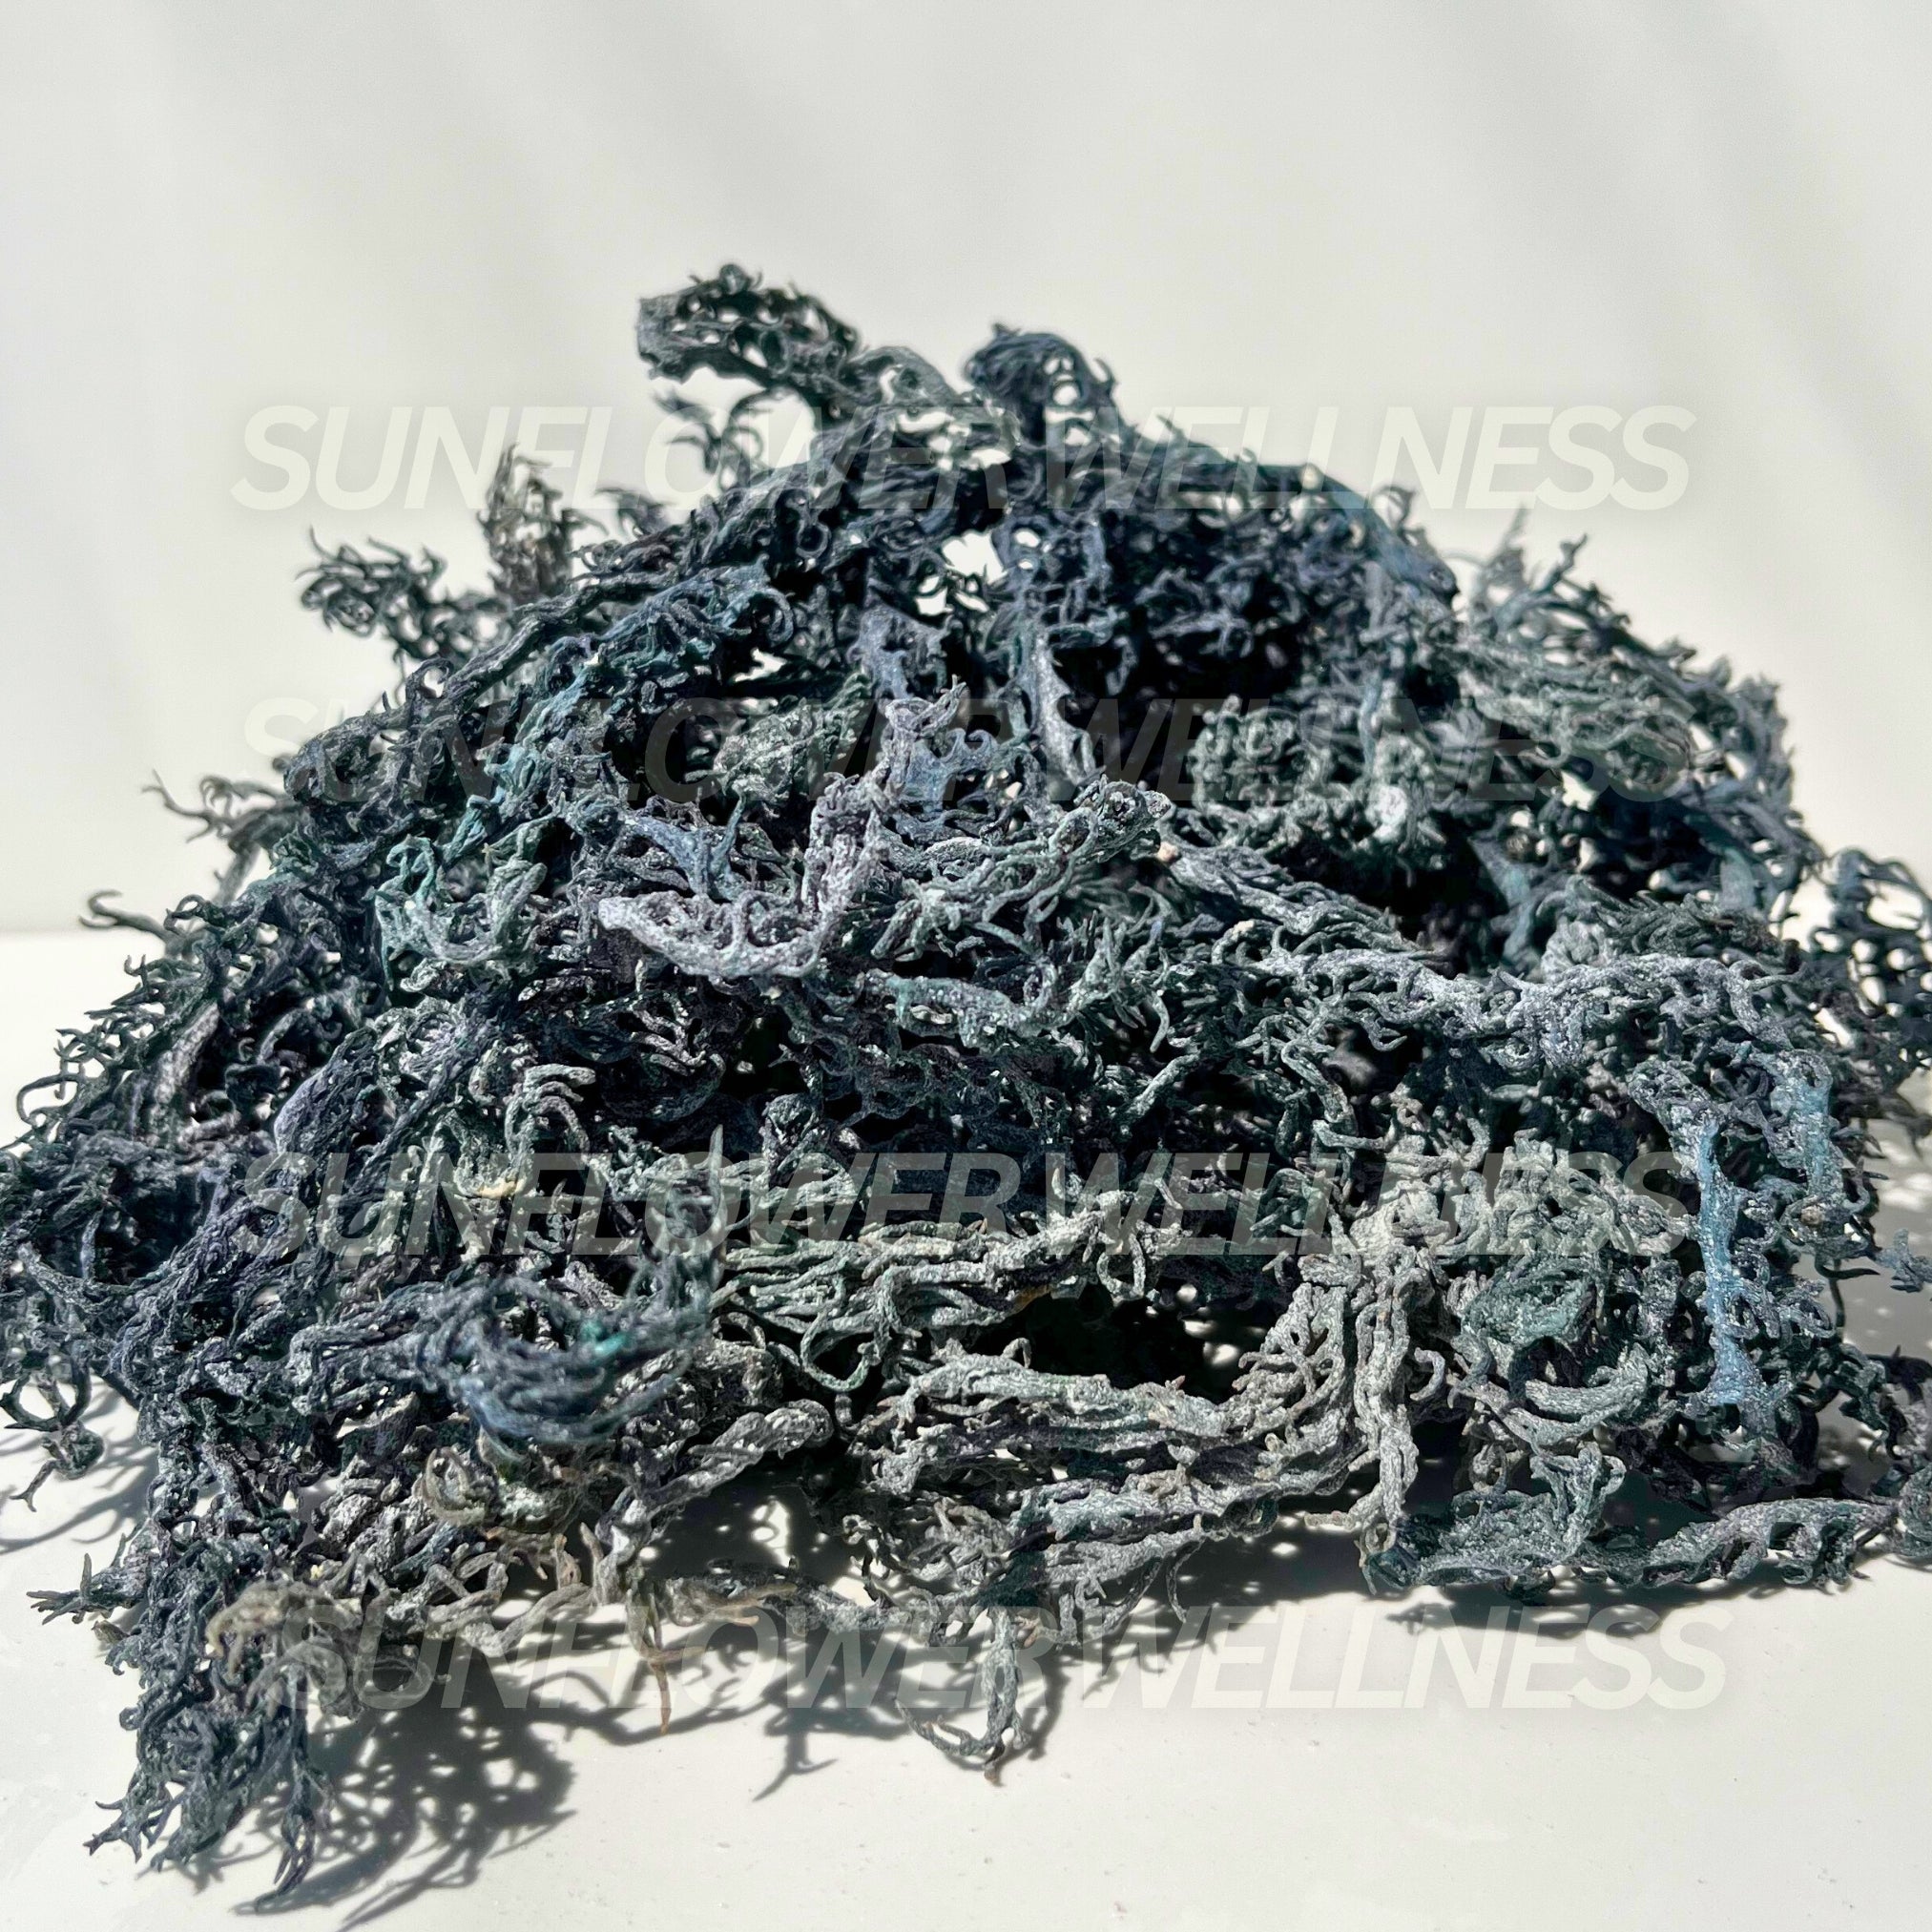
Before you start: what “good” sea moss looks like
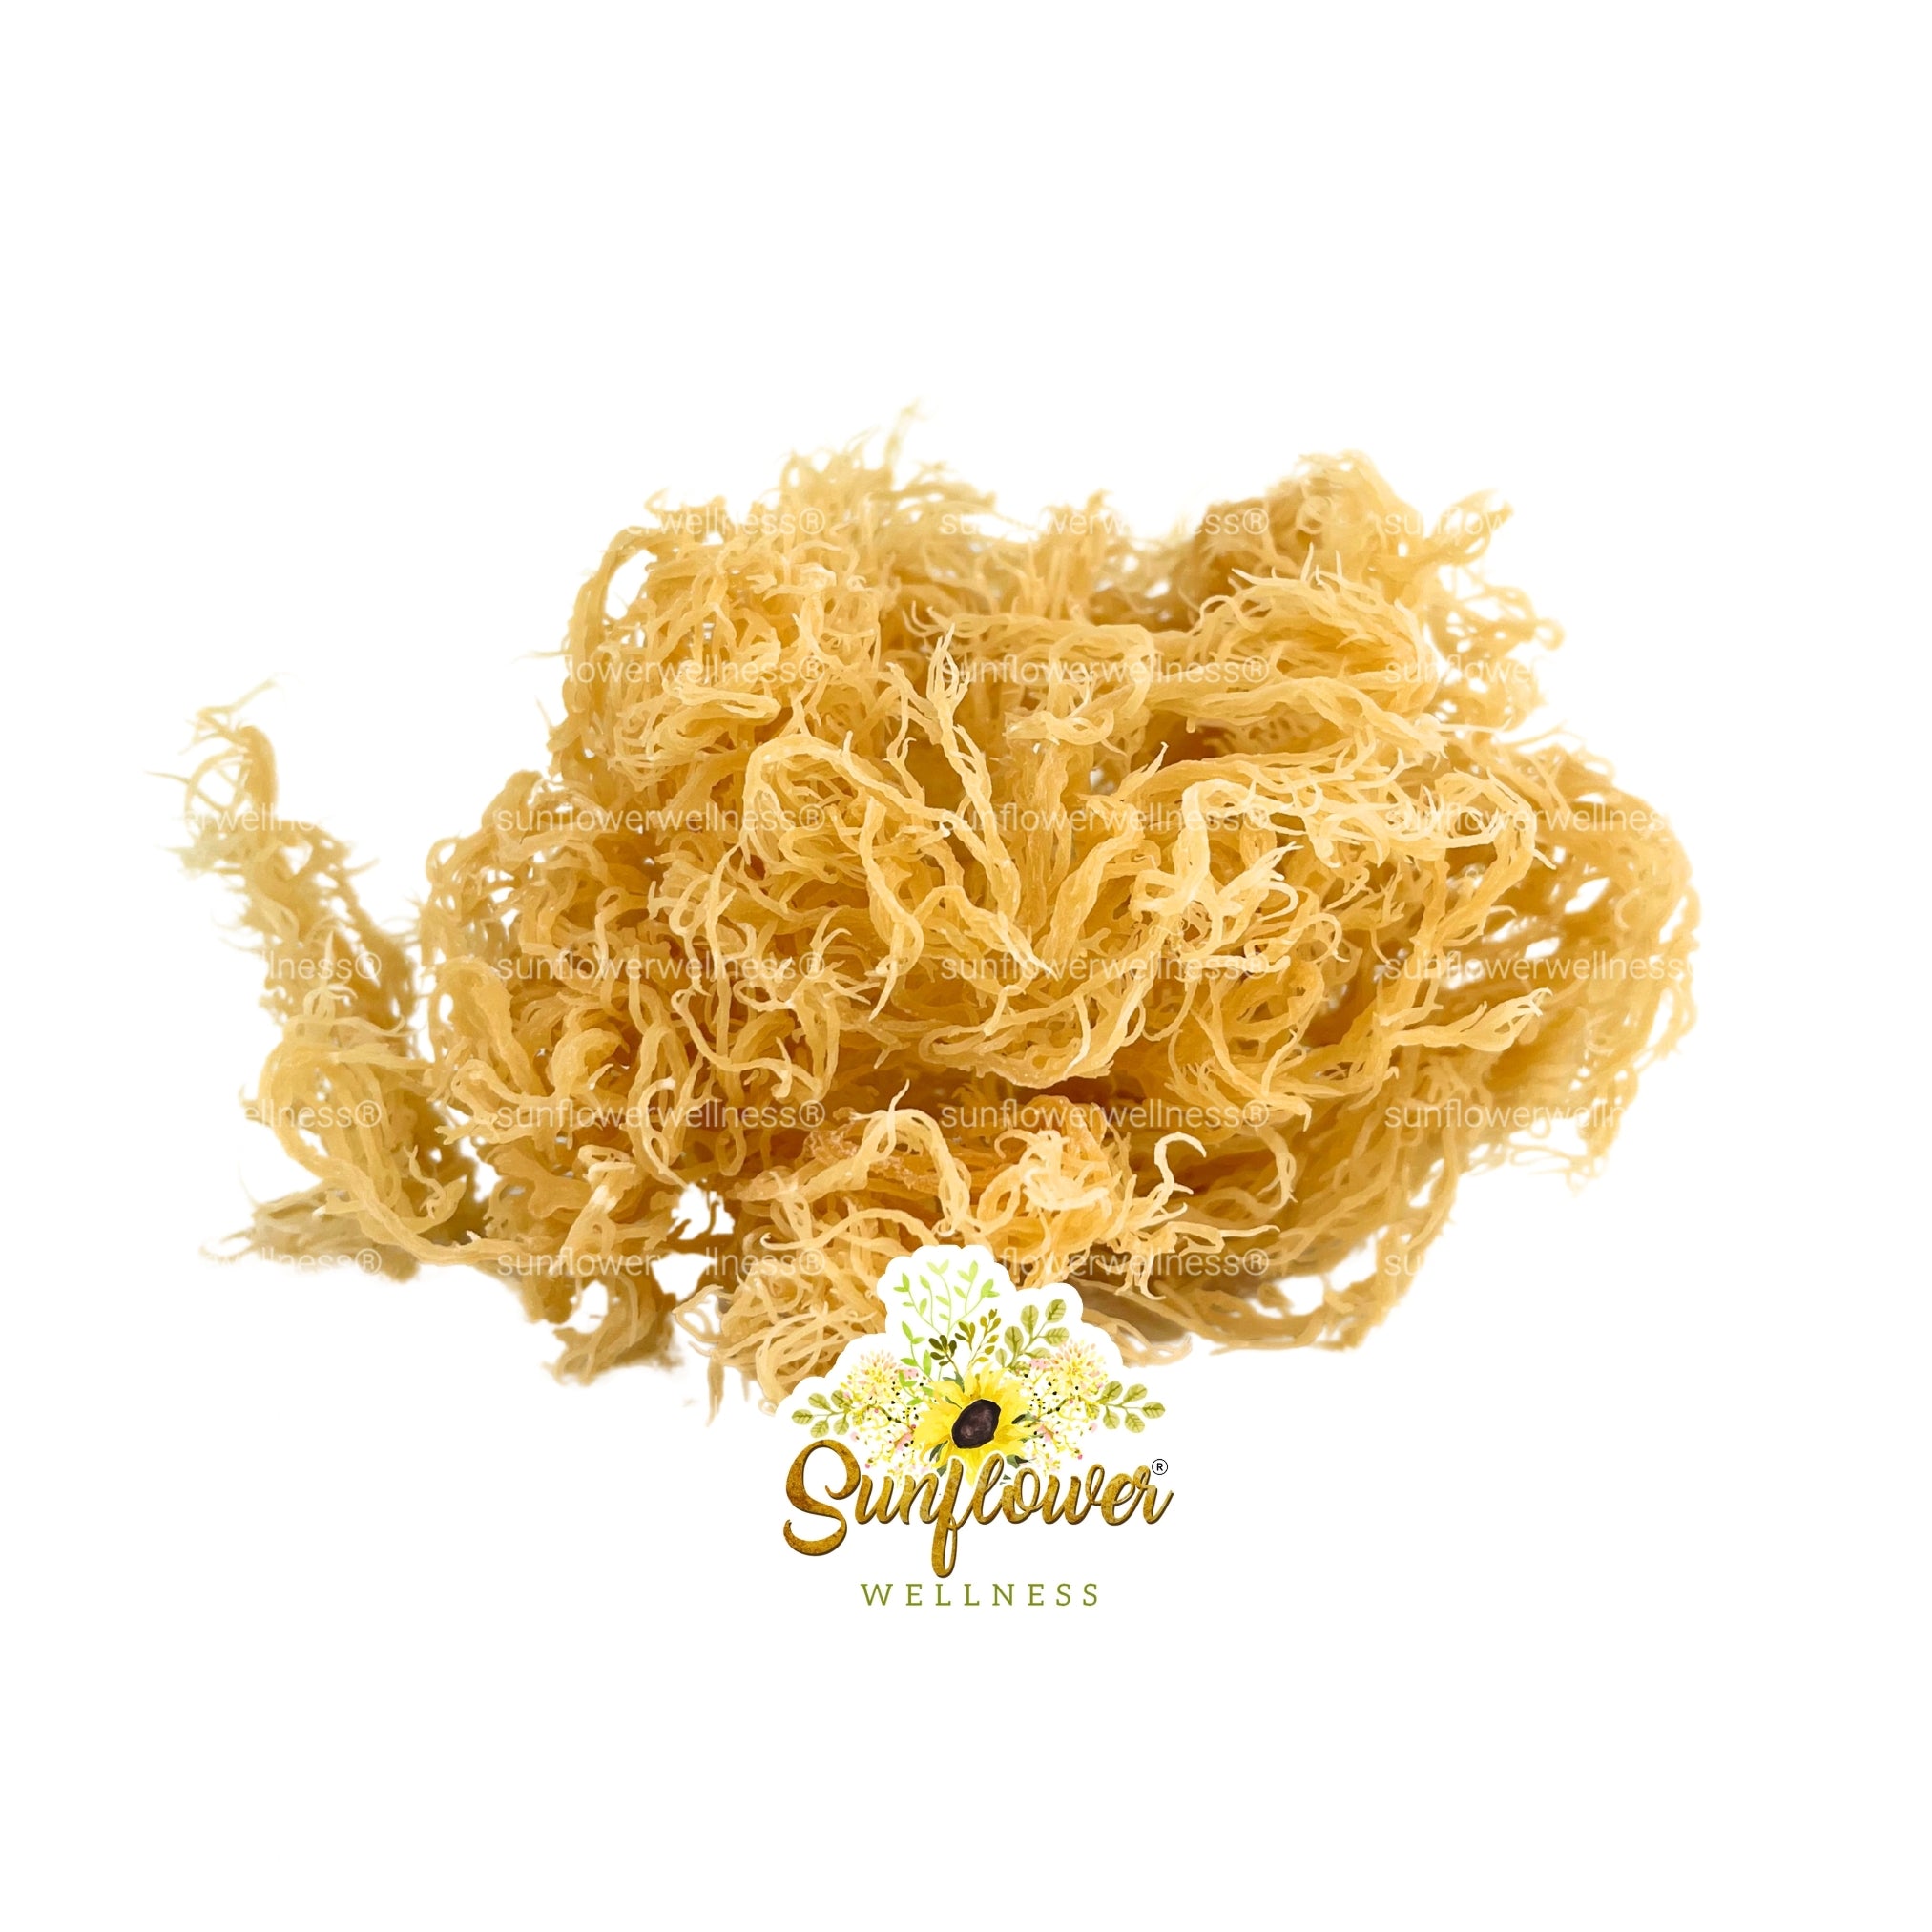
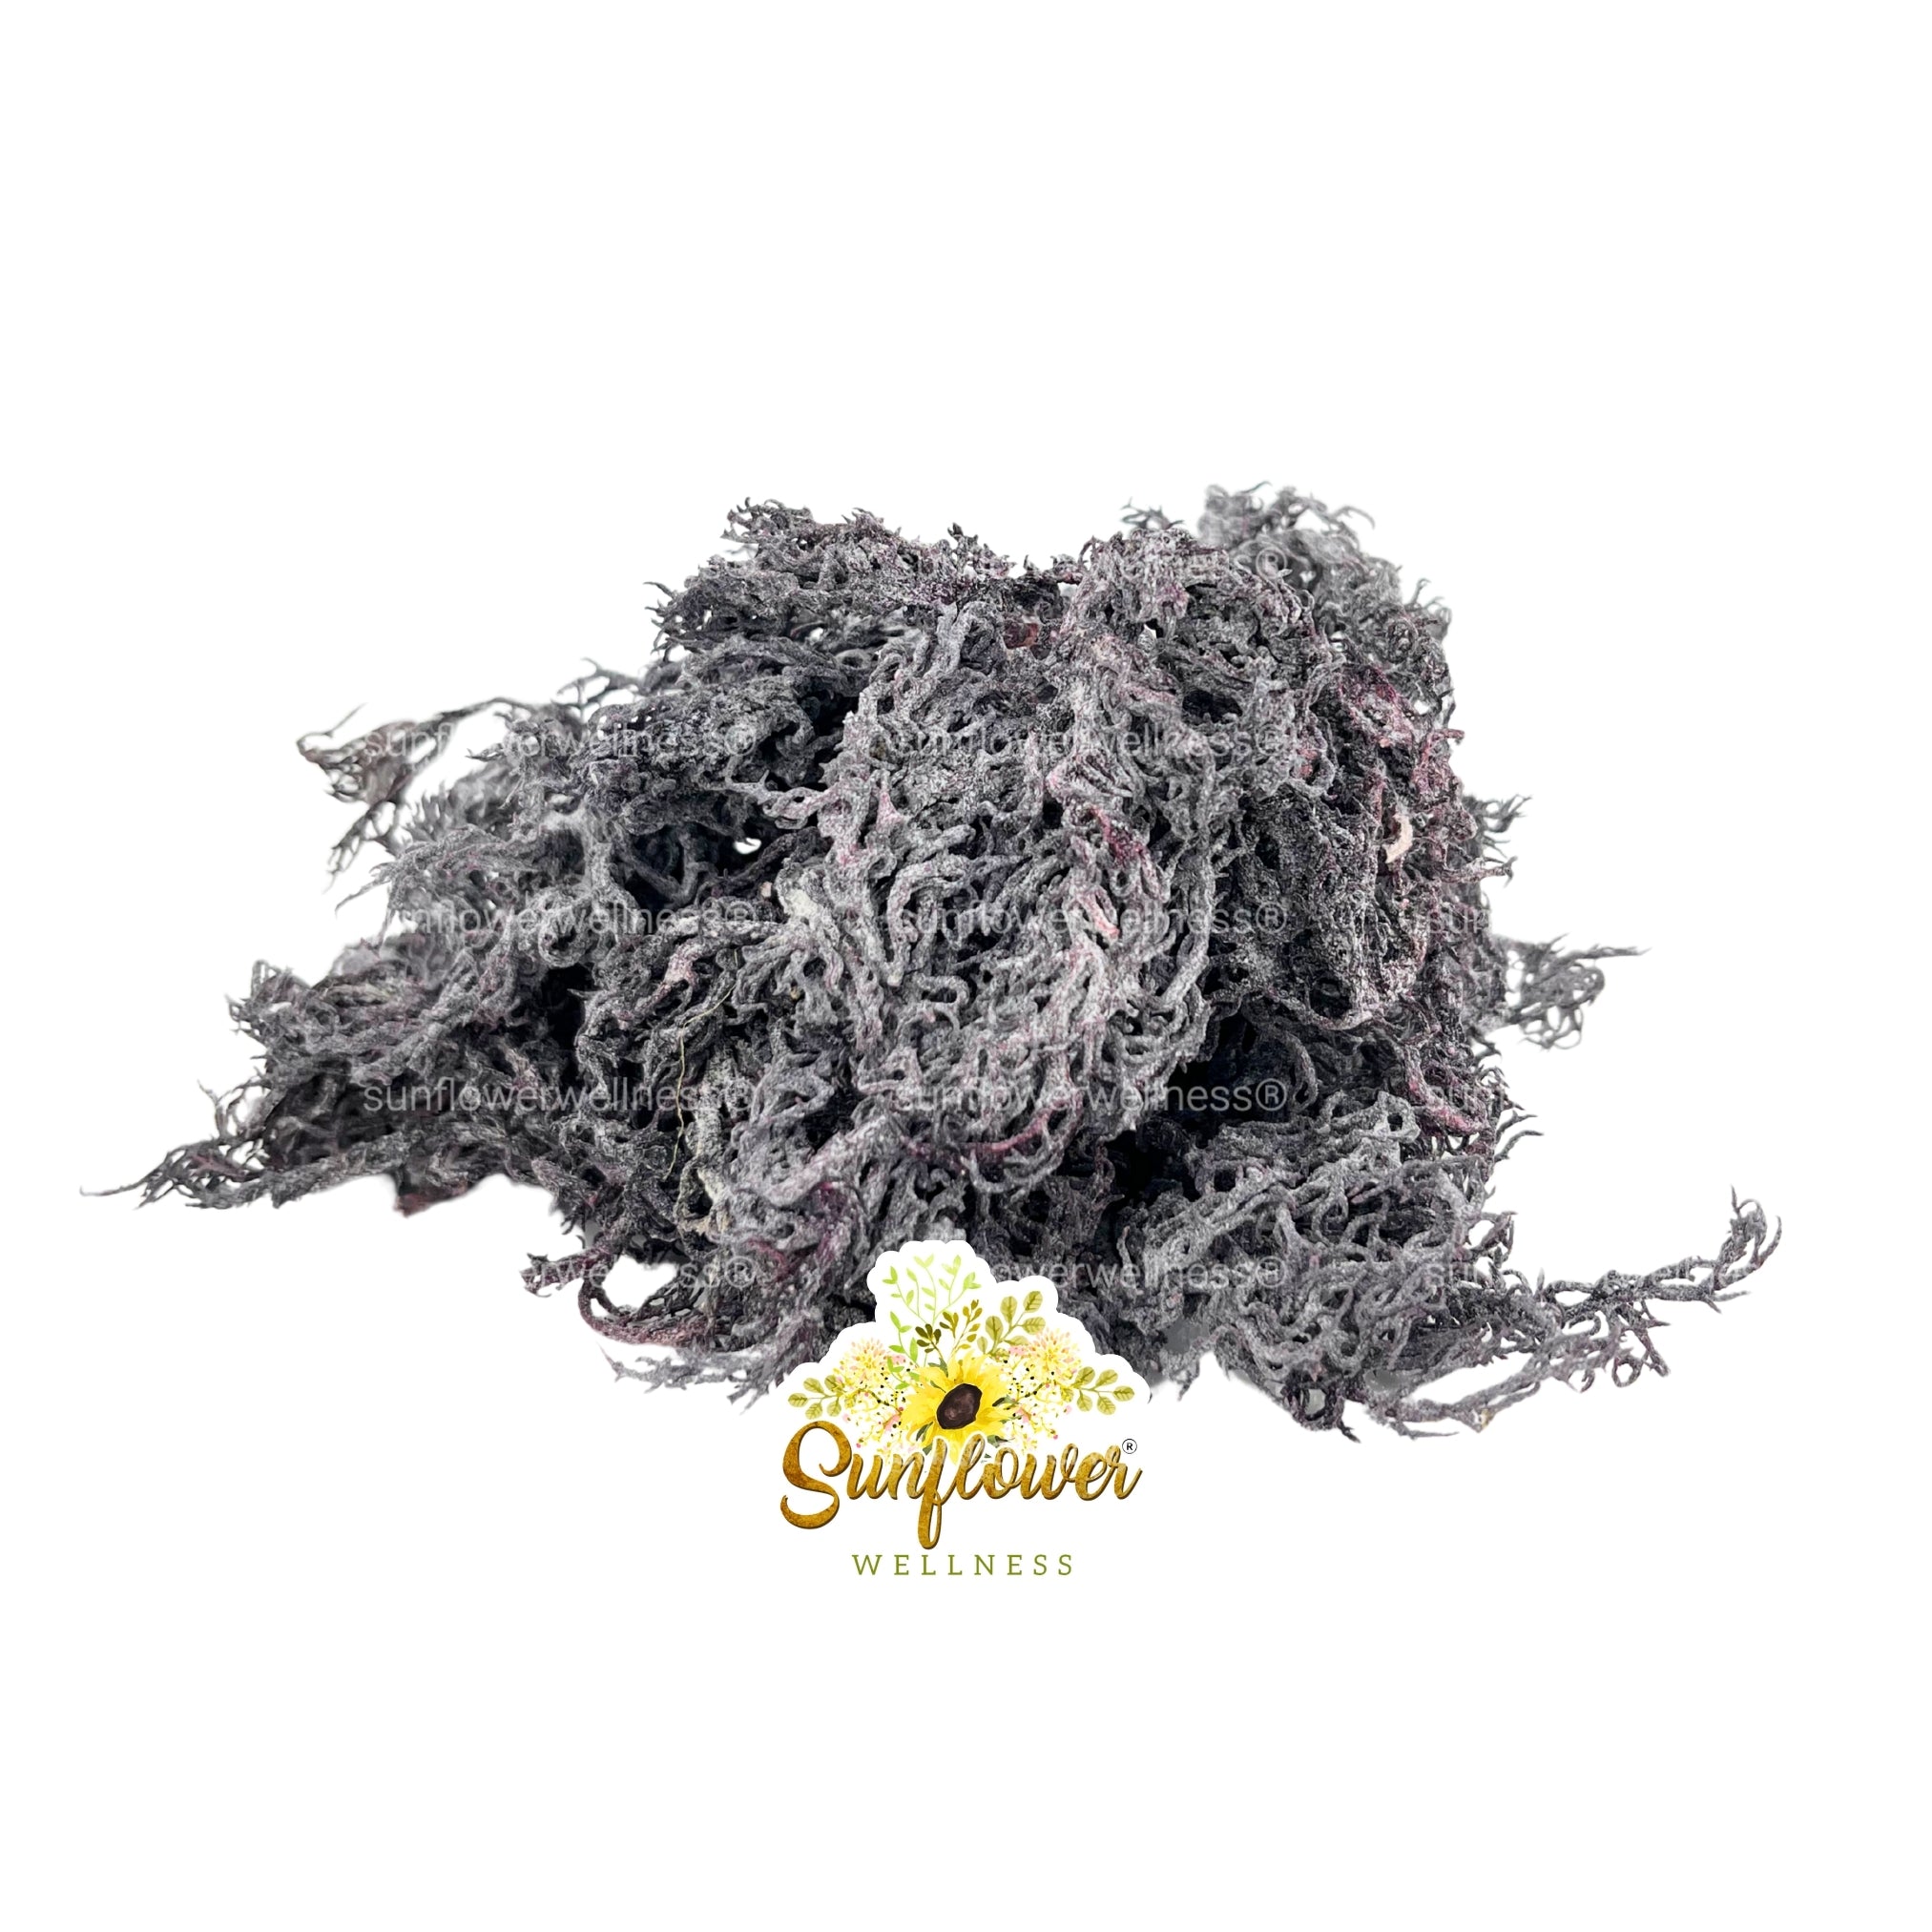
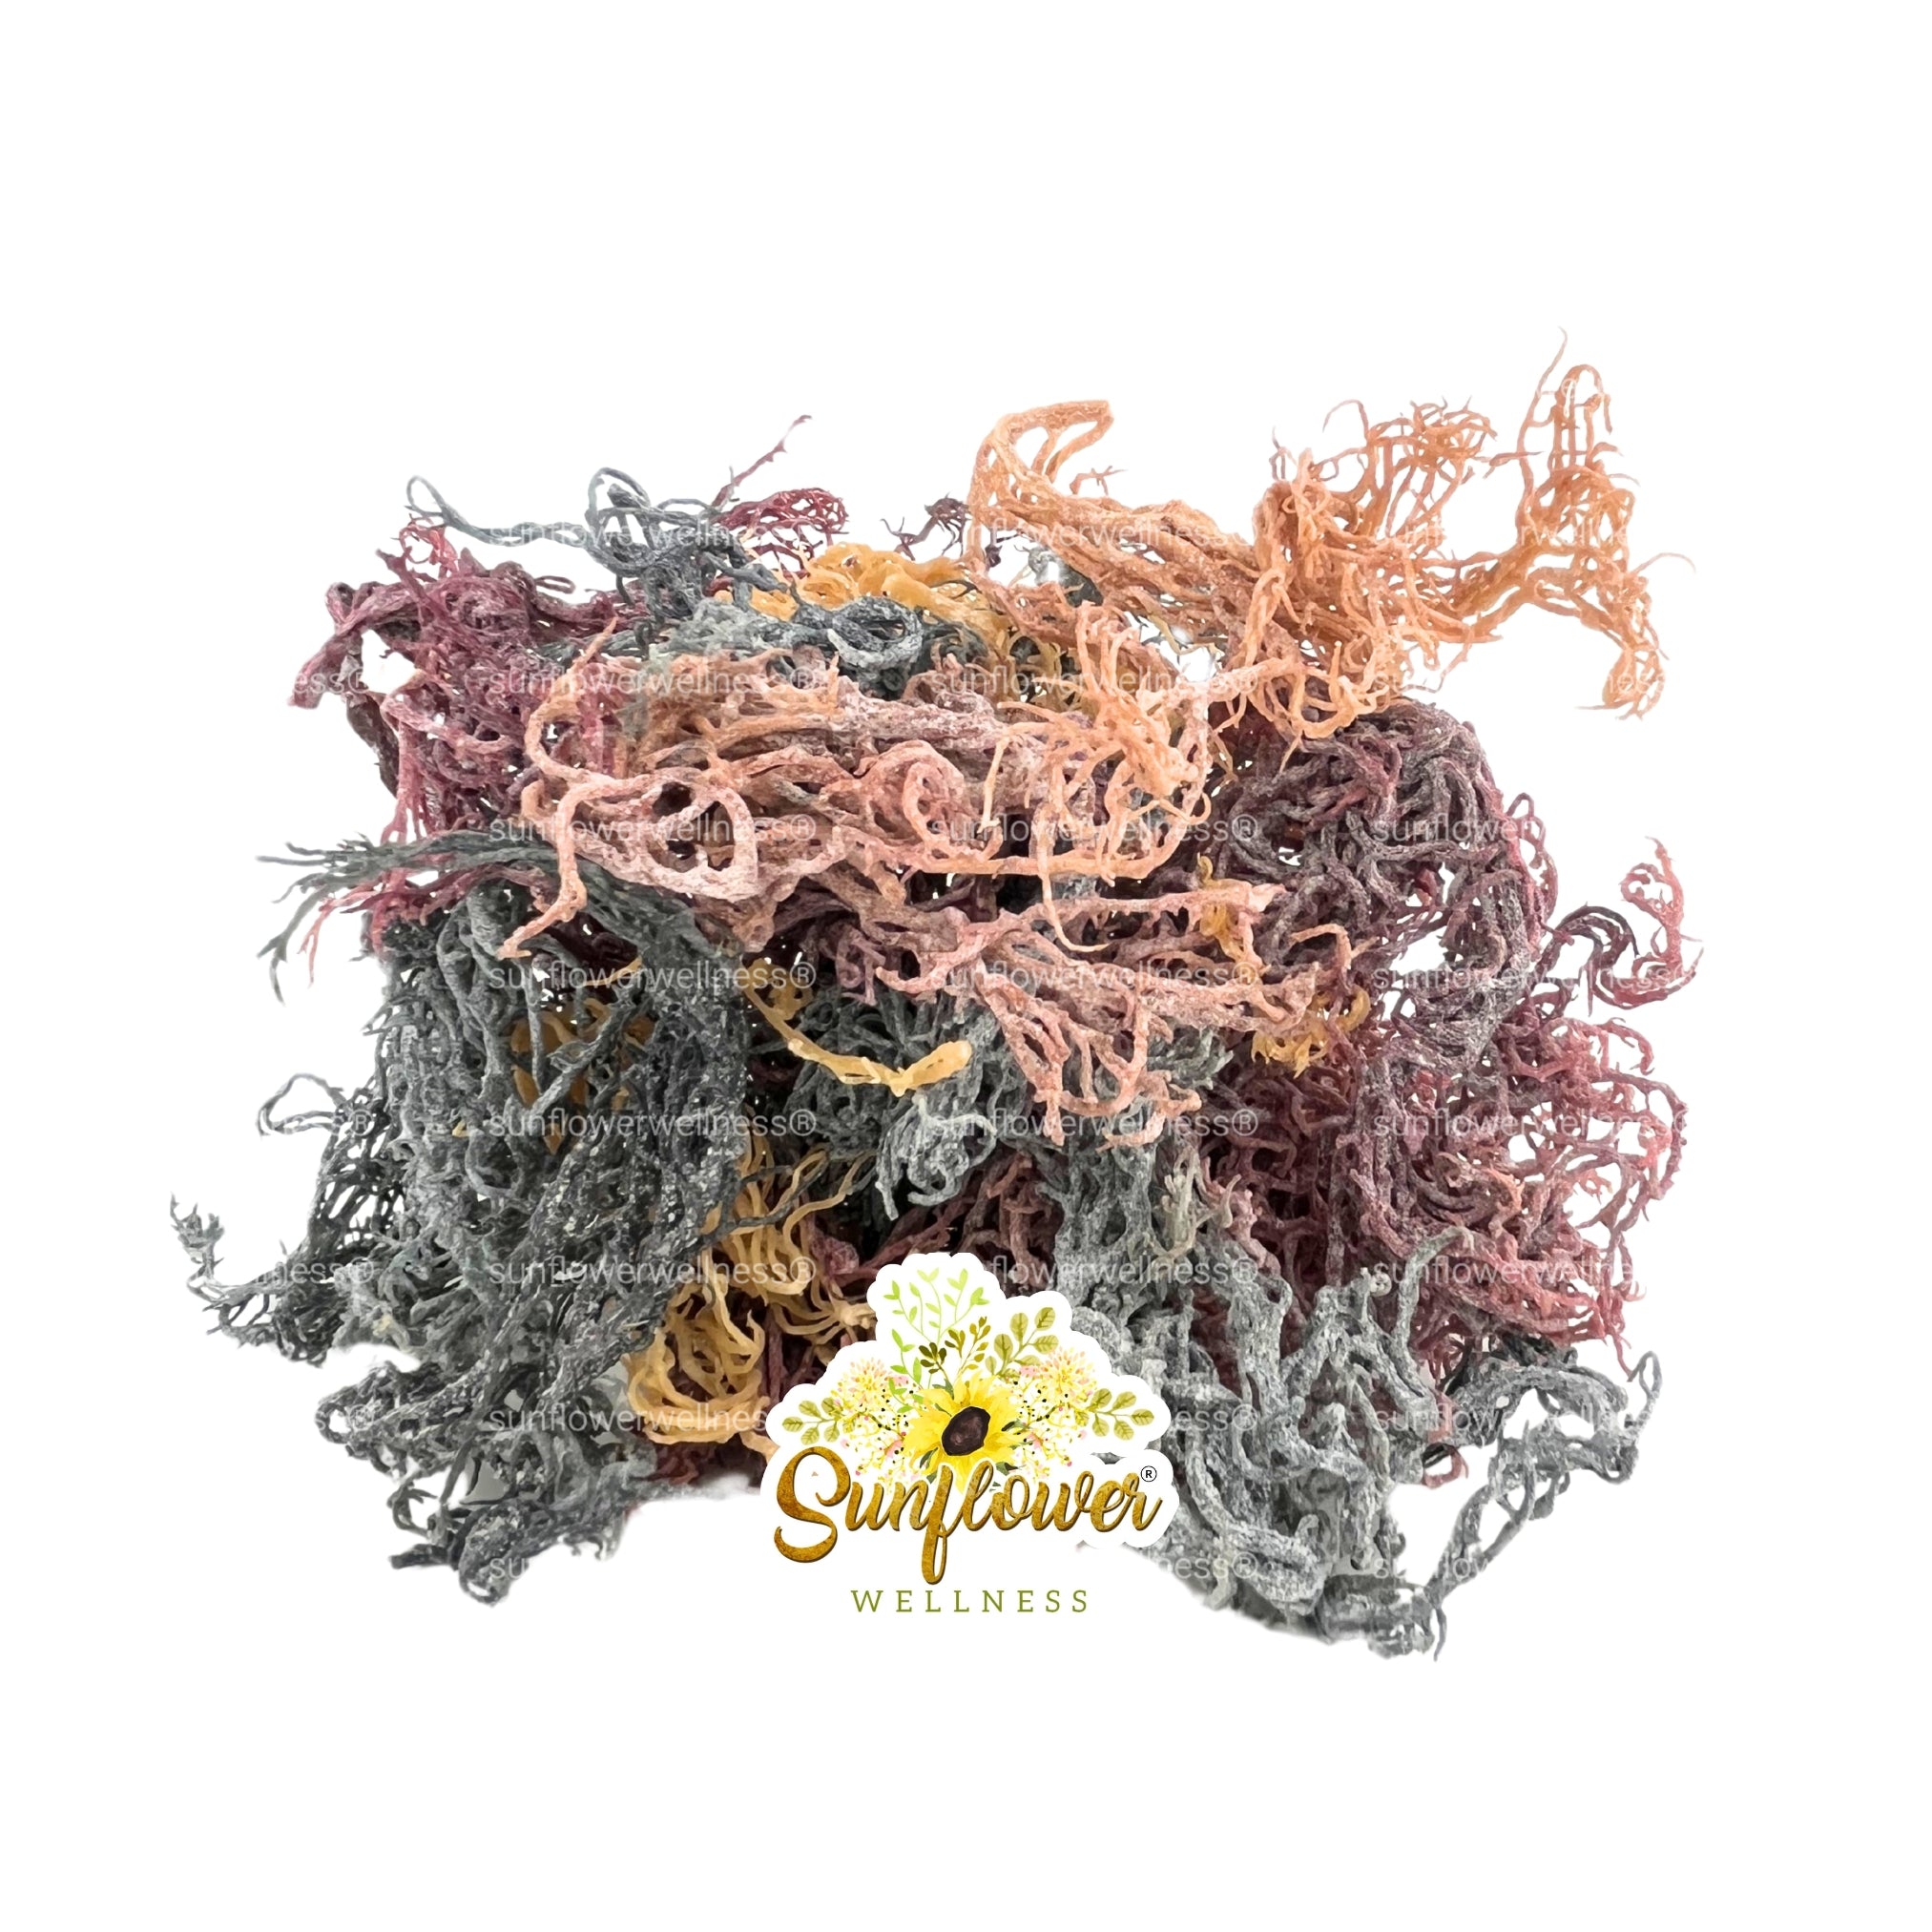
High-quality raw sea moss is typically ocean-harvested and sun-dried. Because it grows in real ocean conditions, it may arrive with natural variation in color, texture, and shape, and it can contain small bits of sea salt, sand, or ocean debris that should be removed during cleaning.
If you’re new to sea moss, sourcing is a big deal. Ocean-harvested sea moss (like wildcrafted sea moss from St. Lucia) is grown in open water and harvested traditionally. Pool-grown sea moss is often cultivated in controlled, artificial environments, which can change the look and sometimes the cleaning experience.
Sunflower Wellness sources sea moss directly from the waters of St. Lucia and supports traditional harvesting practices. If you want a deeper breakdown of what origin can mean, see: St. Lucia Sea Moss: Why Origin Matters.
What you’ll need (simple setup)
You don’t need special equipment, just clean basics.
- Raw sea moss (dried)
- A large bowl
- A fine mesh strainer (helpful, not required)
- Clean hands and a clean work area
- Spring water or filtered water (recommended)
- A blender
- Glass jar(s) with lids
Optional (nice-to-have): 1 lime or lemon (for a quick rinse or blending flavor), gloves if you have sensitive skin.
Step 1: Sort and inspect your dried sea moss
Before you rinse anything, take 1 to 2 minutes to look through your sea moss.
What you’re doing here:
- Removing any obvious debris you can spot while it’s dry
- Separating thick pieces from thin pieces so they soak more evenly
What’s normal in ocean-harvested sea moss:
- A mild ocean smell
- A firm, dry, slightly brittle texture
- Some visible sea salt crystals or tiny sand particles
Step 2: Clean raw sea moss (rinse, rub, and repeat)
Cleaning is about removing surface salt and any ocean particles clinging to the moss. Don’t rush this part. A good clean makes the soak water clearer and the gel smoother.
How to clean sea moss (best-practice method)
- Place your dried sea moss in a large bowl.
- Add cool, clean water and swish it around with your hands.
- Lift the sea moss out (don’t pour everything through a strainer yet, or the sand can settle back onto it).
- Dump the dirty water.
- Refill and repeat 2 to 4 times.
Then do a more detailed rinse:
- Gently rub and “comb” each piece between your fingers under running water.
- Pay attention to folds and thicker parts where sand can hide.
Optional quick citrus rinse (not required)
Some people like to do a quick rinse with a little lime or lemon in the water. If you do this, keep it brief and rinse again with plain water.
Tip: Citrus can brighten the smell, but it’s not a substitute for thorough rinsing, and extended acidic soaking can affect texture.

Step 3: Soak for 6 to 24 hours (and why it matters)
Soaking is where the transformation happens. Dried sea moss needs time to rehydrate (absorb water, soften, and expand). Soaking also helps remove excess salt left from the ocean and the sun-drying process.
Why soaking helps
- Rehydrates the sea moss so it blends smoothly into gel
- Draws out surface salt and helps loosen sand or small particles
- Improves texture, making it easier to blend into an even gel
How long should you soak sea moss?
A common soak range is 6 to 24 hours. Many people land around 12 hours, but the right time depends on thickness, dryness, and your preferred gel texture.
Use this as a practical guide:
| Soak time | Best for | What you’ll notice |
|---|---|---|
| 6 to 8 hours | Thin pieces, faster prep | Softer, expanded, still slightly firm in thicker areas |
| 10 to 14 hours | Most batches | Plump, flexible, blends easily |
| 18 to 24 hours | Very thick pieces or very dry batches | Very soft and fully hydrated, easiest to blend |
Soaking steps (simple and clean)
- Put cleaned sea moss in a bowl.
- Cover it with spring or filtered water.
- Use enough water so it can expand comfortably (it will grow in volume).
- Cover the bowl (lid or clean cloth) and leave it at room temperature.
- After soaking, drain and rinse once more.
Should you change the soak water?
It’s a smart move, especially with ocean-harvested sea moss.
- If the water looks very cloudy early on, drain and refill once.
- If you’re soaking the full 24 hours, consider changing the water at least once.
Beginner tip: If your goal is a mild taste and smell, changing the water once during soaking often helps.
Step 4: Blend into sea moss gel (smooth, thick, and scoopable)
After soaking, your sea moss should feel soft and slippery, not crunchy. Now it’s ready to blend.
Basic sea moss gel blending ratio
A common starting point is:
- 1 part soaked sea moss
- 2 to 3 parts water (adjust for thickness)
Because sea moss varies naturally, treat this as flexible. You can always add more water to thin it out.
How to blend
- Add soaked sea moss to your blender.
- Add clean water (start with less if you want a thicker gel).
- Blend until fully smooth.
- Check consistency.
If you want it:
- Thicker: blend with less water next time, or chill it longer
- Thinner: add a small splash of water and re-blend
Optional add-ins (keep it simple)
You can blend with a small piece of lime or lemon for a fresher taste, but it’s optional. If you’re making gel mainly for recipes, many people prefer keeping it neutral so it mixes into anything.
Important: Avoid adding sweeteners directly into your storage jar. If you want honey, maple, fruit, or flavors, add them when you use the gel, not to the whole batch.
Step 5: Store sea moss gel safely (refrigerator best practices)
Sea moss gel is a fresh, water-based food, so storage and cleanliness are everything.
Best container
Use clean glass jars with tight-fitting lids. Glass is easy to sanitize and doesn’t hold odors as easily as some plastics.
Refrigeration
- Refrigerate promptly after blending.
- Keep your fridge cold (food safety guidance commonly points to 40°F / 4°C or below).
How long does sea moss gel last?
Shelf life depends on cleanliness, temperature, and handling. Many home gel makers aim to use refrigerated gel within about 3 to 4 weeks when prepared hygienically and stored properly.
Practical safety tip: Label your jar with the date you made it. If the gel develops an off smell, visible mold, or an unusual color change, discard it.
Freezing option
If you make larger batches, freezing is convenient.
- Freeze in ice cube trays or small containers
- Thaw cubes in the refrigerator as needed
For a separate, full gel recipe and use ideas, you can also read: How to Make Sea Moss Gel at Home (Step-by-Step Guide).
Ocean-harvested vs pool-grown: why preparation can feel different
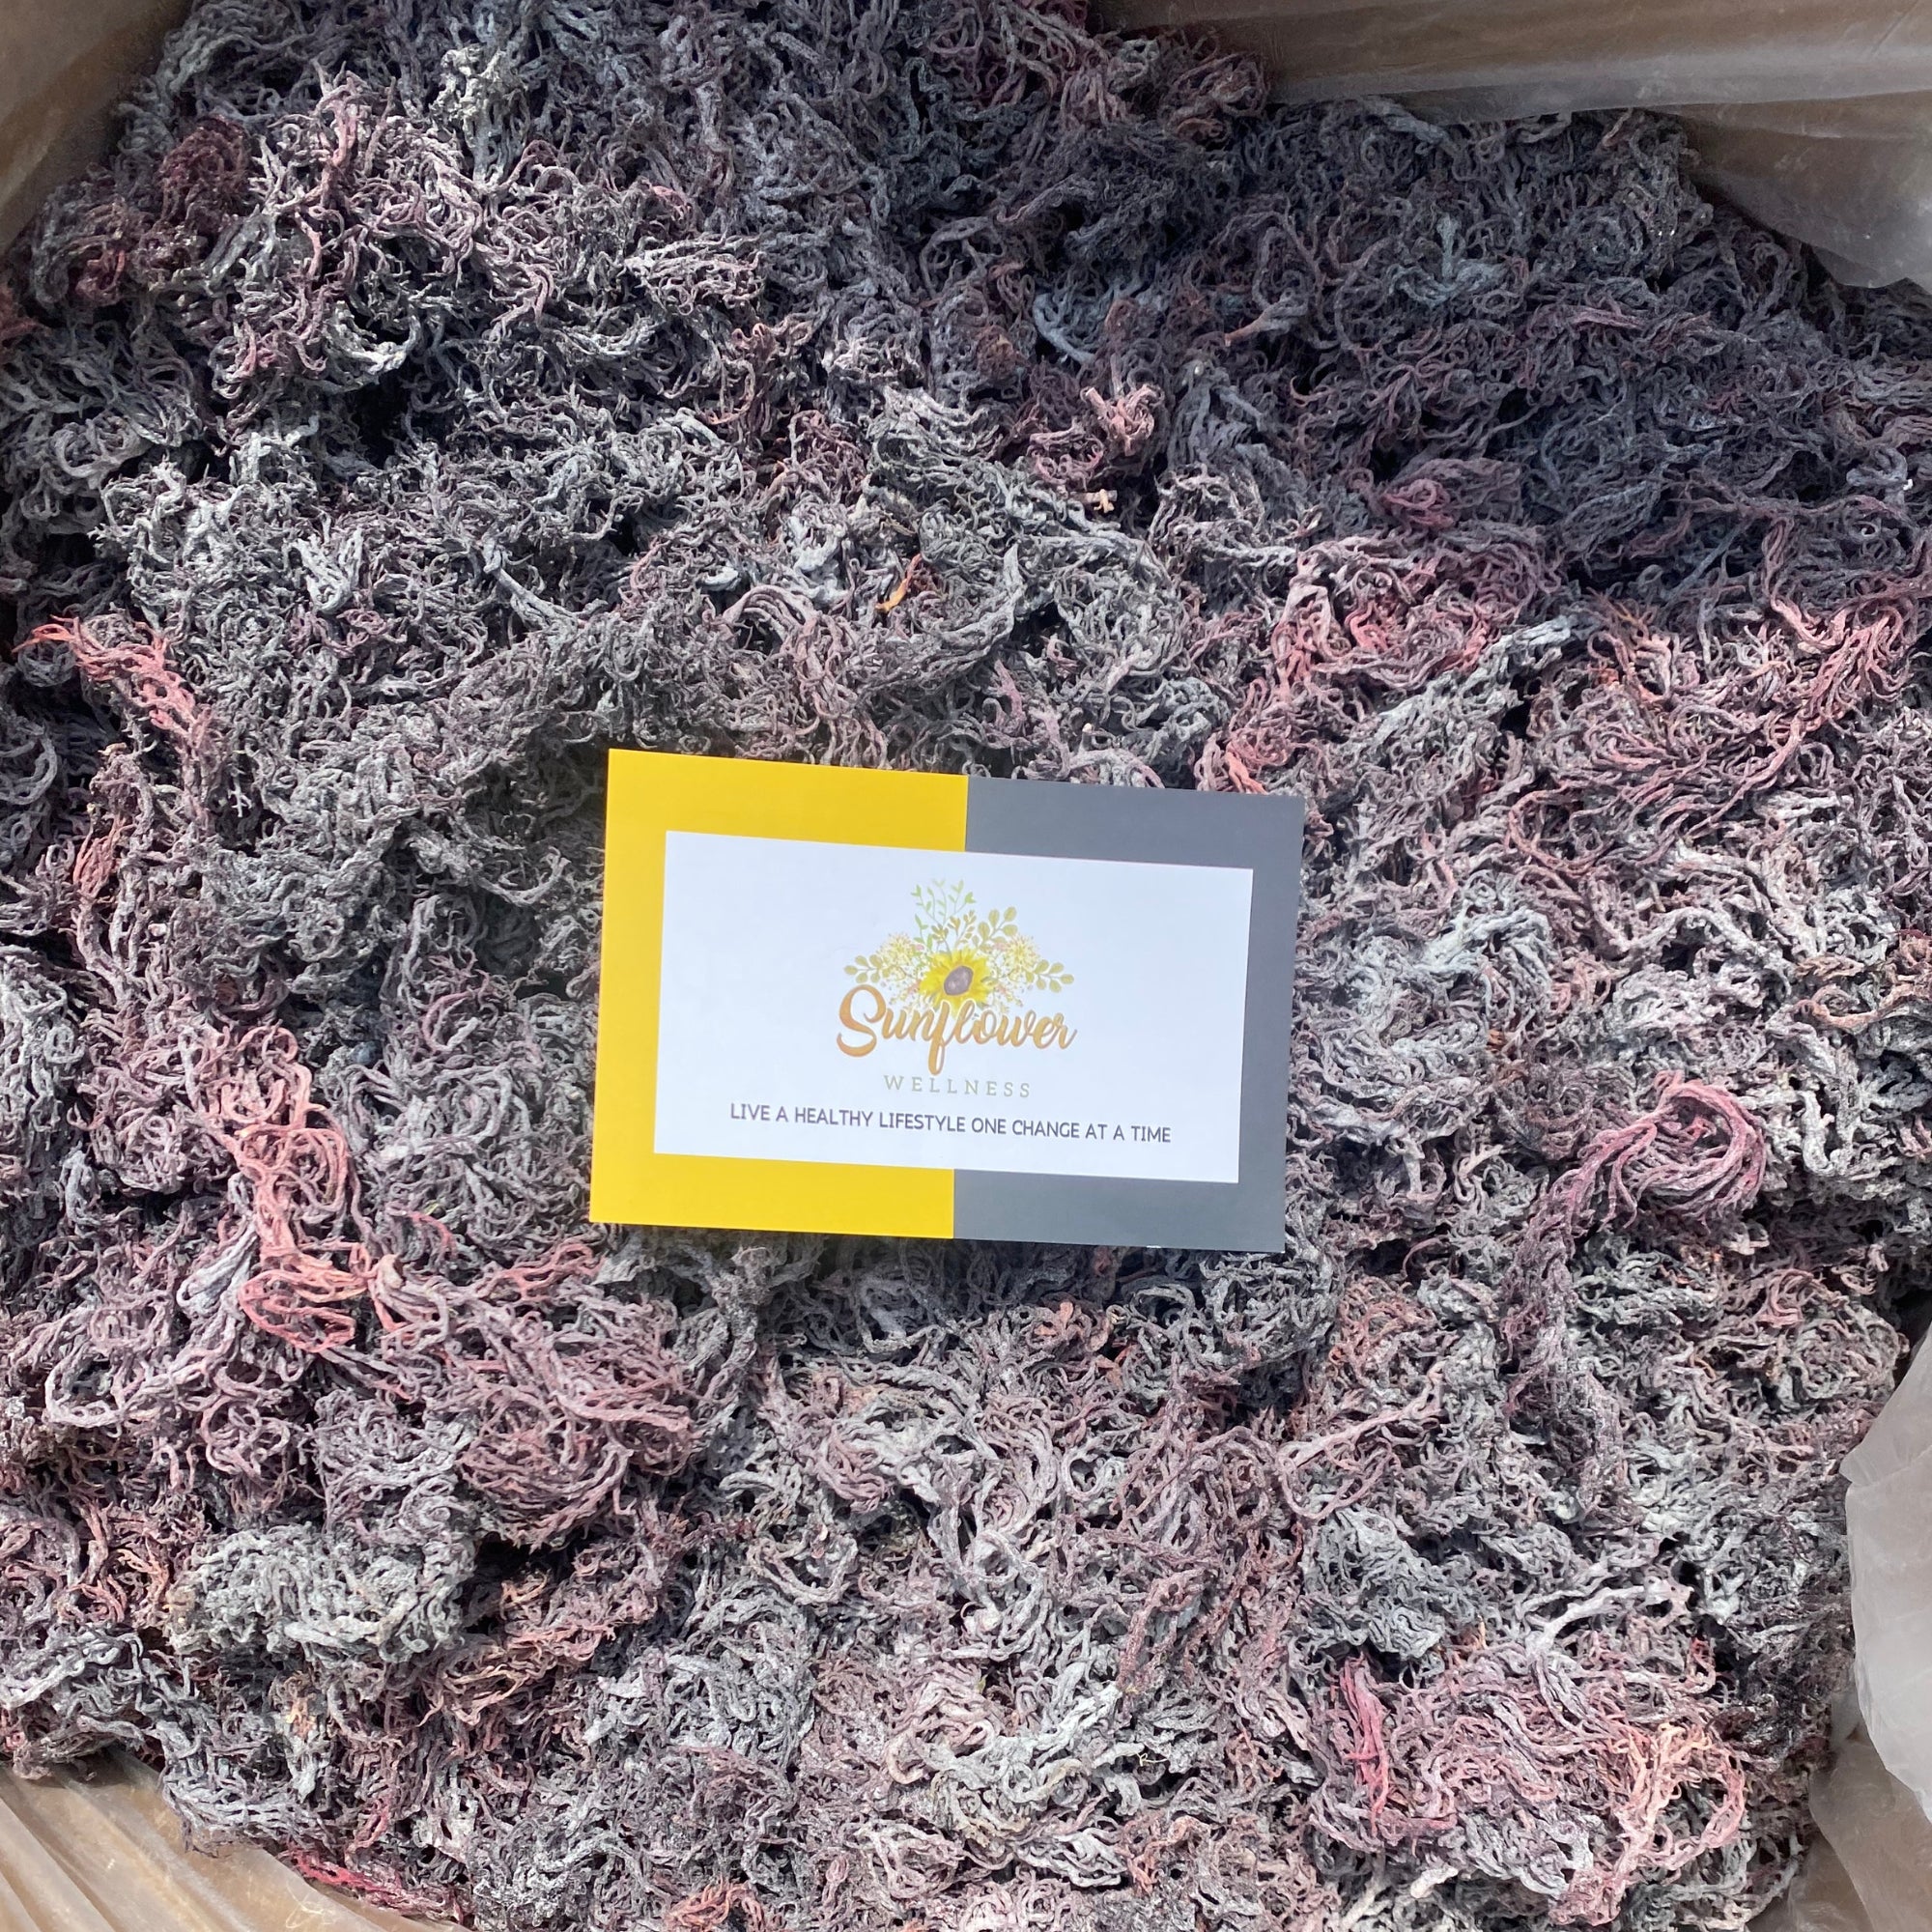
When sea moss is ocean-harvested and sun-dried, it’s exposed to natural conditions like currents, sand, and sea salt. That’s why cleaning and soaking matter, and why your soak water may look cloudy at first.
Pool-grown sea moss is cultivated in more controlled environments, and it can sometimes appear unusually uniform. People are often surprised when ocean-harvested sea moss looks more “wild” because it is.
If your priority is authenticity, look for brands that can clearly explain where the sea moss is harvested and how it’s handled post-harvest. Sunflower Wellness specifically emphasizes wildcrafted sea moss from St. Lucia (never pool-grown) and third-party lab testing for purity.
Beginner tips for a smoother first batch
A few small habits make a big difference.
- Start small: Make a small jar first so you learn your preferred thickness.
- Use filtered or spring water: It can improve taste and consistency.
- Keep everything clean: Wash jars, lids, blender, and utensils thoroughly.
- Use a dedicated spoon: Don’t double-dip from smoothies or food into your gel jar.
- Let it set: Gel thickens after several hours in the fridge.
Common mistakes when preparing sea moss (and how to fix them)
Most sea moss issues come from either under-cleaning, under-soaking, or storage habits.
- Not rinsing enough before soaking: Fix by doing multiple rinse cycles and rubbing pieces individually.
- Soaking too short: If the gel is grainy or hard to blend, soak longer next time (closer to 12 to 24 hours).
- Using too much water when blending: Start with less water, you can always thin it out.
- Adding lots of extras to the storage jar: Add flavors per serving to keep the batch stable.
- Storing in a warm fridge or leaving it out: Refrigerate promptly and keep the lid sealed.
- Contaminating the jar: Always use a clean spoon and avoid introducing moisture or food crumbs.
Frequently Asked Questions
Do I have to soak sea moss for 24 hours? No. A soak time of 6 to 24 hours is common. Thinner pieces may be ready around 6 to 8 hours, but many people prefer 10 to 14 hours for easy blending.
Why is my soak water cloudy? Cloudiness is often from salt and tiny particles loosening from the sea moss, especially with ocean-harvested, sun-dried sea moss. Rinse well first and consider changing the soak water once.
Can I use tap water to soak sea moss? You can, but many people prefer filtered or spring water for better taste and consistency. If your tap water is heavily chlorinated, filtered water is a simple upgrade.
Do I need lime or lemon to clean sea moss? It’s optional. Citrus can help freshen the smell, but it doesn’t replace thorough rinsing. If you use it, keep it brief and rinse again.
How do I know if sea moss gel has gone bad? If you see mold, notice an unpleasant odor, or the gel looks unusually discolored, discard it. Clean tools, cold refrigeration, and using a clean spoon help extend freshness.
Should I boil sea moss instead of soaking? Most DIY gel recipes rely on soaking to rehydrate. Boiling can change texture and is not necessary for typical sea moss gel preparation.
Ready to make gel from authentic St. Lucia sea moss?
If you’re focusing on DIY gel, starting with authentic ocean-harvested sea moss makes the whole process more predictable and satisfying. Sunflower Wellness sources sea moss directly from St. Lucia and supports traditional harvesting practices.
Explore the brand’s sourcing standards here: St. Lucia Sea Moss: Why Origin Matters, or visit the shop to find the format that fits your routine: Sunflower Wellness.